
Student login cards
Once your students are set up in your edclub account and enrolled in classes, you can create customizable login cards to help them sign in.
Generate login instructions
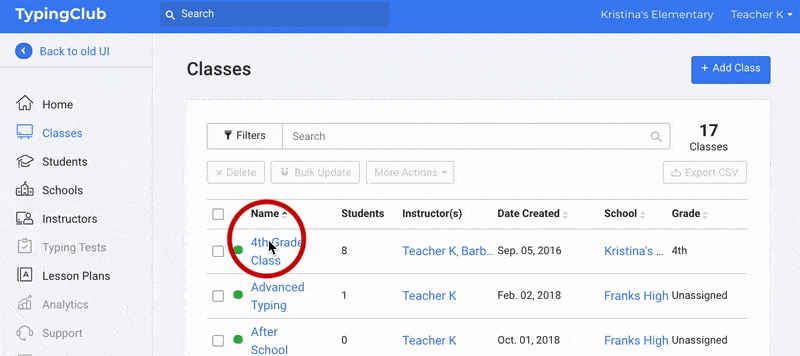
- Go to the Classes tab and click open the class of interest.
- Click Students and select the students you want to print the login cards for.
- Click Print and choose Print Login Cards from the drop-down menu. You can choose which information to include and add a custom note.
- Click Generate Login Cards to view and print the PDF.
- Print out the sheet, cut it up, and hand out the login cards to your students.
Tip: If your students are using Google email addresses or Microsoft 365 single sign-on, it might be helpful to uncheck every box except the login URL and write "Please log in using your Google/Microsoft account".
Email login instructions
To send an email to each student with their individual login instructions, you must make sure that your students have email addresses associated with their accounts. If so, follow the steps below to create a mass email:
- Co to Classes and select the class of interest.
- Click Students and select the students that should receive an email with their login details, or simply select all.
- Then click Email Students to see the list of email addresses to which the instructions will be sent. Here you can also view and edit the template of the email itself.
- Then simply click Send and the email will be on its way.
Individual distribution
To check or edit student login information individually, follow the instructions below:
- Search the student's name using the search box on the top of the Students page.
- Open the student's profile by clicking their name.
- Click Edit Student on top of the screen.
- Review the student's first and last name, as well as optional email address, username, password, grade, and school.